You, Me and Teddy

Parenting adventures and activities in and around Neuchâtel, Switzerland.


Leave a comment

Pierres d’Hauterive

The Pierre d’Hauterive is actually a very special local yellow limestone which was first used for construction by the romans who inhabited the area 2000 years ago. Most of the older buildings in the area are build with this stone and it helps define what is Neuchâtel. Do check out the photos of the stone around town on our local newspapers’ site here. We also came across it during our trip to the Latènium museum where it was carved into gargoyles.

gargoyles horizontal

Our Pierres (rocks) are more Cailloux (pebbles) d’Hauterive and not really limestone but as we collected them in Hauterive on our walk the other day its not exactly an untruth.

I’ve been meaning to give a use to our pebbles as they have been cluttering up the side in our kitchen for a while now so we got some paint out and set up the table for some crafts.

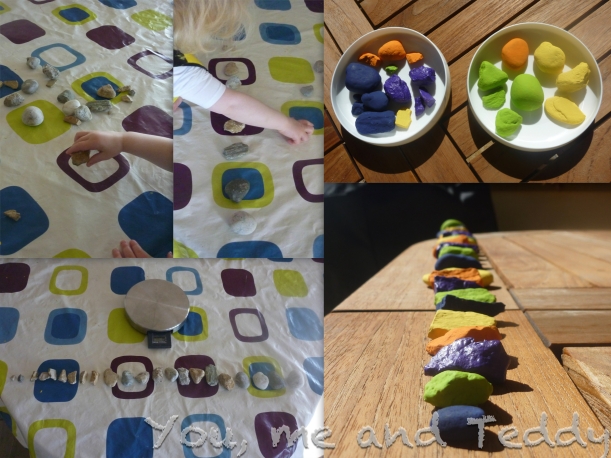
Firstly I asked E to arrange her pebbles into sized order. This was a tricky exercise at times, with them all being different shapes, so we got out the scales to help. I am slowly teaching E her numbers on the basis that she will learn them if I show her the character and explain often enough. She can do very basic maths  – addition and subtraction up to 4 for tasks such as: “if you eat three more broccoli florets you can have one yoghurt” her response being “But Mummy I already eat two so I just eat one more.” Someday soon I  am going to have to start teaching her seriously but for now she is only two and it can wait.

Once we had our pebbles in order we started to paint them in sequence. The sequence of colours also helped us to tell if they were in the right order once we mixed them up again.

Stone sorting and colours

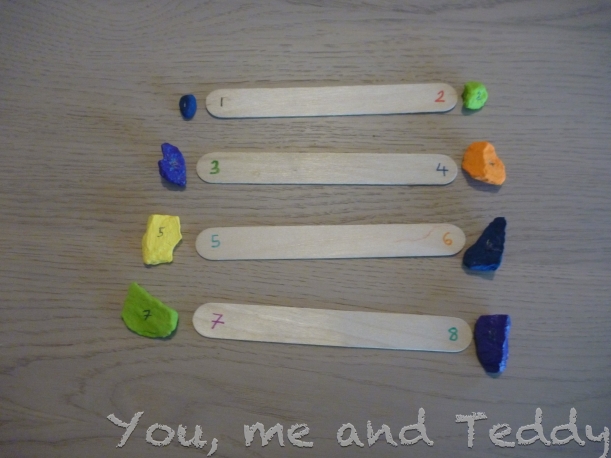
Confident in her sorting abilities we moved on to some more number recognition. I wrote numbers on the end of some craft sticks and then on each of our stone and asked E to match the stones to the numbers on the sticks. This one is still a work in progress and I keep it out for her to muck around with at the moment so she can familiarise herself further with the numbers.

number sorting

I have seen some fabulous number activities this week by the way on Teaching my Tot including a number hunt which I will have to try out too.

Hope you are having a good week and thanks for reading.


4 Comments

Springtime and butterflies

“The sun has got his hat on. Hip hip hip hooray!” It’s going to be a Grand Bleu this weekend which basically means the blue skies are here to stay for a bit.

We had to stay in for a maintenance man yesterday but following on from our outing to Papiliorama E and I decided to design and make our own butterflies.

It was a fairly simple procedure cutting some wings out of coloured paper and some antennae from out of the leftover cardboard from our sheep pen. All we then required was some old toilet roll tubes, googly eyes, a pen, some paint and glue.

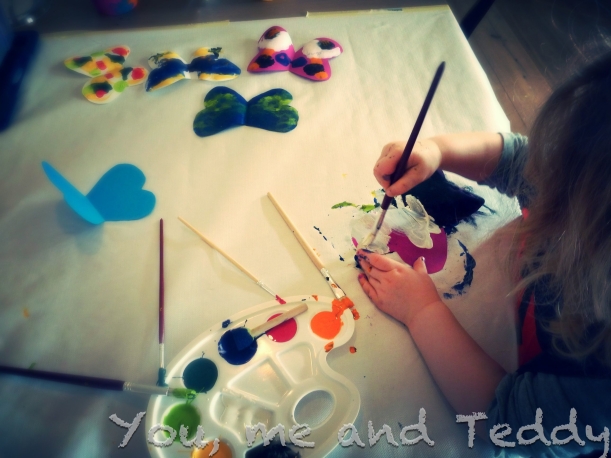
painting

Appropriately enough we designed our wings to be butterfly prints. I showed E how to do this and then left her to it. I love watching her playing with the paint. Once you let go and stop interfering she really experiments and often with beautiful results. We did both sides of the paper as we noticed at that the butterflies we had seen often had very complicated designs (if not very different) on both sides of their wings. In between waiting for the wings to dry we painted the bodies and the antennae.

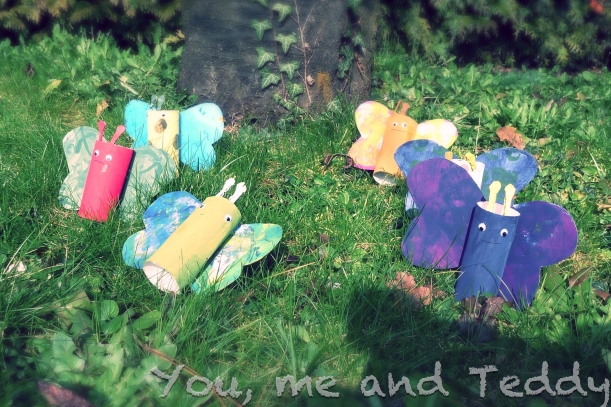
Once everything was dry we stuck it all together with some glue and E drew some rather worried looking faces on them.

butterflies

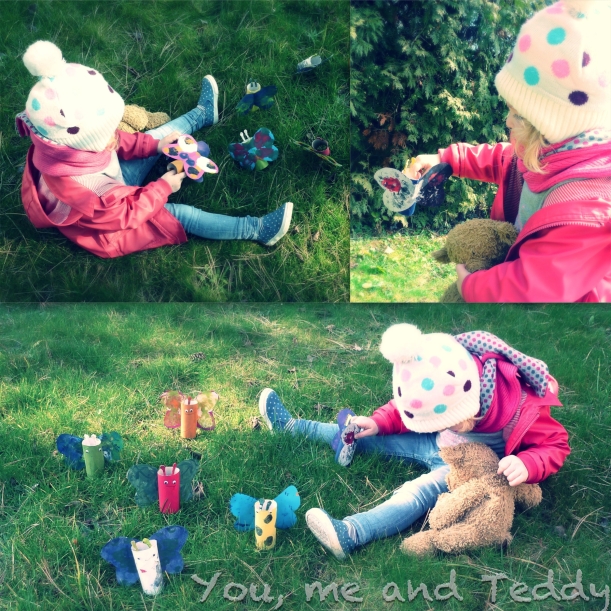
Then we took out butterflies out for their first flight. It was pretty windy in the garden with the nice weather system blowing in so we took refuge by a tree and the hedge.

Playing with Butterflies3

I do apologise for the state of our garden but we still haven’t managed to really do anything with it since we moved and M was born. It was a busy year last year and you have to prioritise. I look forward to getting stuck in this spring though.

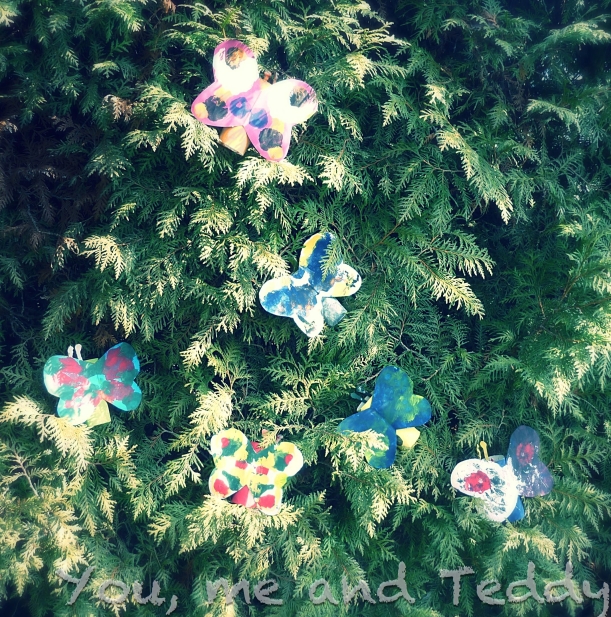
It was still a bit chilly with the cold wind so we didn’t stay out too long and instead ended up decorating the house with our little butterfly friends.

E is very proud of all her creations and I’m not sure where I’m going to start storing all of them soon but it’s always nice to have a follow up activity after an outing. Oh and the big news is that she can now say “butterfly” rather than “bufferlie”.

Enjoy your Fridays! Its the weekend 🙂

Butterfly hedge


1 Comment

Stuck for ideas?

We all lose inspiration sometimes. Its raining outside and the motivation to do something is there but can you figure out what you want to do? Nope! Or what about those days where you have absolutely no motivation and it would be so easy to pop the kids in front of the TV and watch a film but you know you should do something with them? I have a solution.

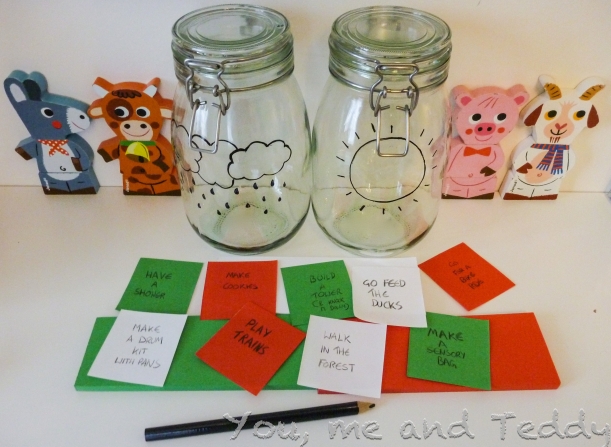
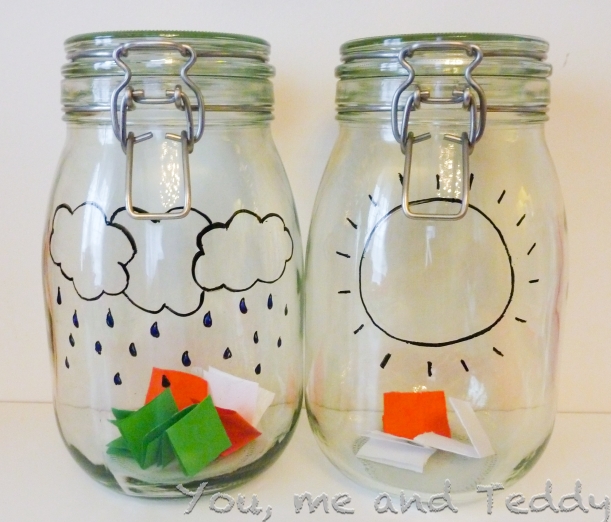
A very clever friend of mine introduced me to the concept of an activities jar and I have adapted it for my kids. We now have two jars: one for rainy days and one for sunny days. When you are feeling inspired after a particularly good day out, maybe even a chat with other mums or perhaps just a good old browse of pinterest write down your ideas on slips of paper and sort them into your jars. I have colour coordinated our activities (because I am like that) into red for E, white for both kids or green for M.

They can be as simple or adventurous as you choose. I have a total mix but here are some of my first scribblings:

jars with some ideas

Its almost like a forfeits jar. Go on I dare you!

jars


Leave a comment

Gardening for the ungifted

My Dad is an excellent gardener and grows everything from Clematis to cucumbers. I on the other hand seem to lack the green fingers gene. Now it is a testament to my Dad that I can actually grow anything. We were trained from a young age to plant seeds, repot plants and how not to drown our plants when watering (something I still fail at as an adult). The only thing I can fairly successfully grow is amaryllis… no idea why! What I would love, however, is to give my kids the basics so I am making an effort and here are some of our attempts this year.

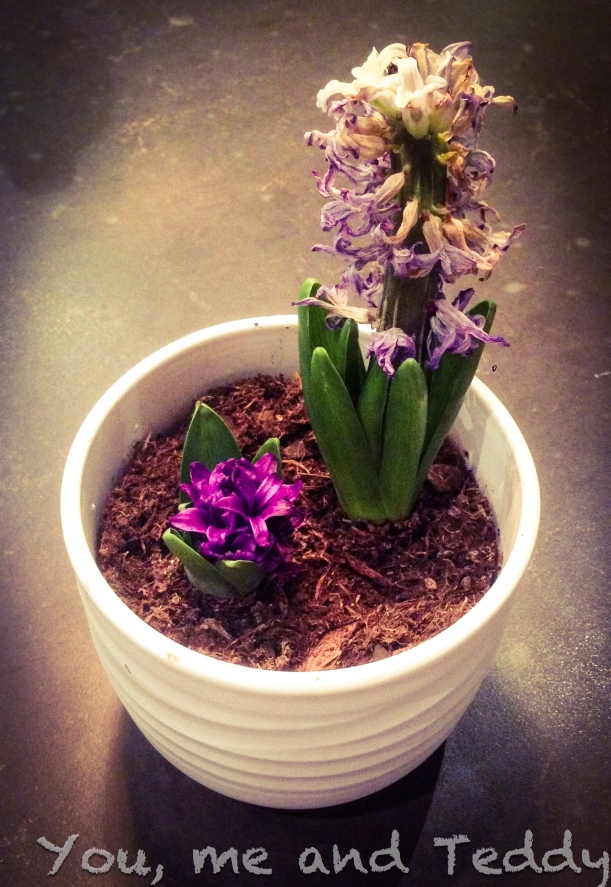
E and I planted out some hyacinths and amaryllis just before christmas and they are now flowering. Amaryllis are fine (as always) but this is the general state of our hyacinths:

I have no idea why they grew at such different rates...

I have no idea why they grew at such different rates…

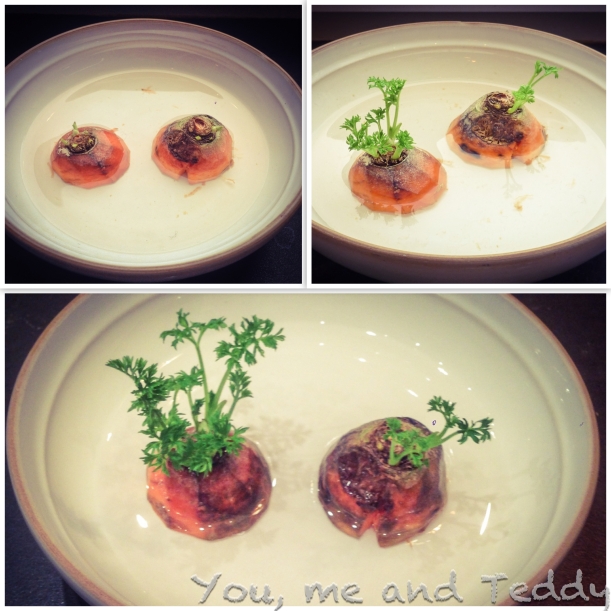
With our above planting failures I decided to set our sights a bit lower and we popped some carrot tops in water a couple of weeks ago. You really can’t get more basic than this. Pop your carrot trimming in a saucer and keep it topped up with about a cm of water. The great thing about carrot tops is that they grow fairy quickly. This is fab for the kids as they can actually see the growth on a daily basis.

carrots

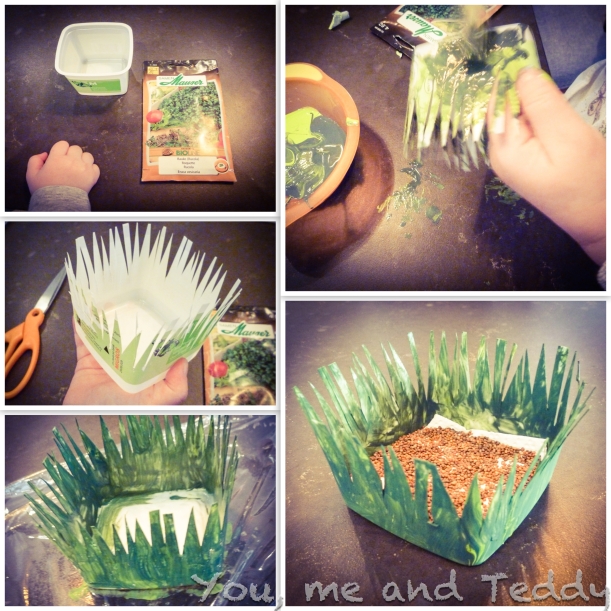
We then decided to move on to the next level of gardening and grow some cress. Unfortunately I could not find any cress so rocket seeds would have to do. I decided that as sprinkling some cress on some moist kitchen paper was not going to take us very long we would spruce up our planting container. For this we first cut off the rim of our yoghurt pot and then together cut down into it to create a grass effect. Then we painted it with 2 different shades of green and left it to dry. Once it was dry we could insert our carefully folded kitchen roll and then add our seeds. Then we watered it enough to wet the paper and poured off the excess (which was inevitable with E doing the watering). Every morning we topped up the water and you could see growth starting after the first day. 

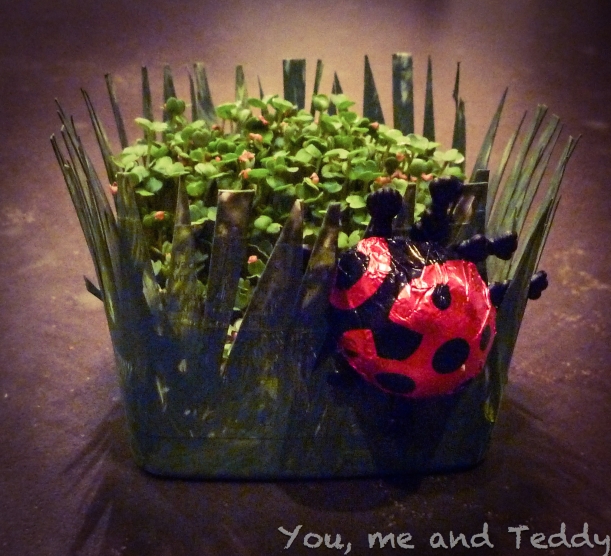
Ladybird pot

Ten days later we had our results so our little chocolate ladybird took residence:pot

See even the most untalented gardener can have some green growing fun with their children! Ok so its baby steps but I’m reading up and hopefully will improve quickly.

Hope you had a good weekend.


3 Comments

What did the bee say to the other bee in summer?

Swarm here isn’t it!

Today we learnt about bees and their important role in pollination and how they make honey. Honey is E’s “favourite food in the whole wide world” and we needed a bit of Spring in our lives today so it seemed appropriate.

What you’ll need:

  • 1 balloon
  • Vaseline
  • PVA glue
  • Newspaper
  • Black and yellow paint
  • White tissue paper
  • wire clothes hanger
  • Pipe cleaners (black and yellow)
  • Coloured block of paper
  • Masking Tape
  • Green Pencil
  • Straws (preferably green)

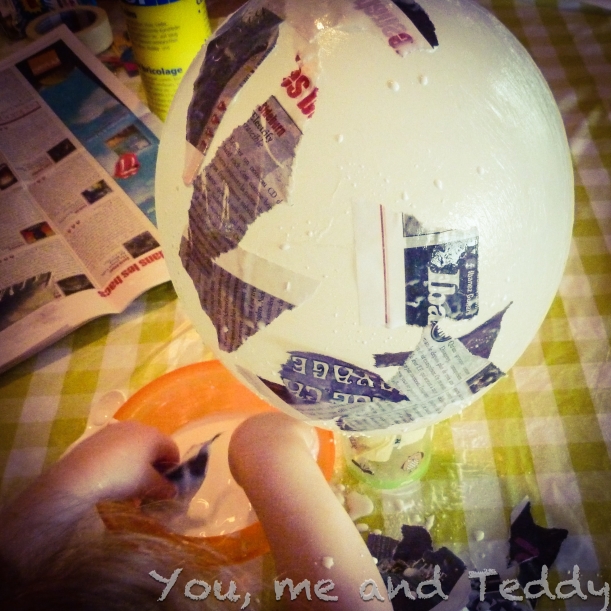
Last week we covered a balloon in papier maché in preparation. We stuck the balloon to a cup for extra stability and then E smothered it in some vaseline (try not to use too much as she did) and layered bits of newspaper dipped in a mix of glue and water on top. The mix was about 50/50 PVA glue to water.  The flatter you get the layers of newspaper the better for painting later but its asking a lot of a 2 year old.

balloon pm

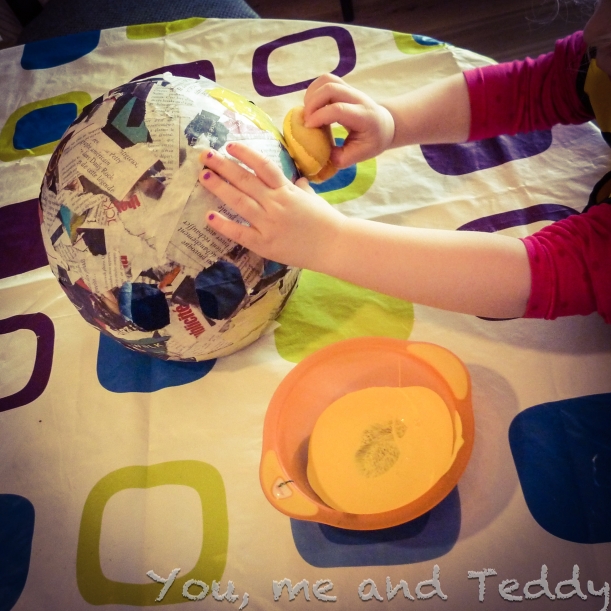
We started today by popping our balloon and cutting our papier maché mould to fit over E’s head and adding eye holes. Then we painted what would become our bee mask yellow and left it to dry as it needed a few coats.

painting mask

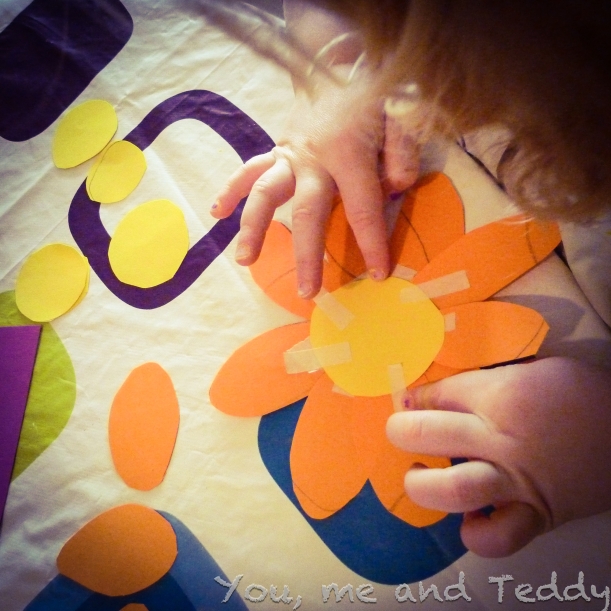
Then we started making some flowers. These were simple and you just need straws masking tape and lots of coloured paper. We had giant straws which I came across in the drug store but you could use normal ones and make them a bit smaller. I then cut out centres for our flowers and lots of different coloured petals and finally some green leaves. E stuck the petals on to the centres of the flowers with some pre-cut masking tape (we are fairly impatient souls and couldn’t be doing with waiting for glue to dry but you could use glue).

sticking flowers 2

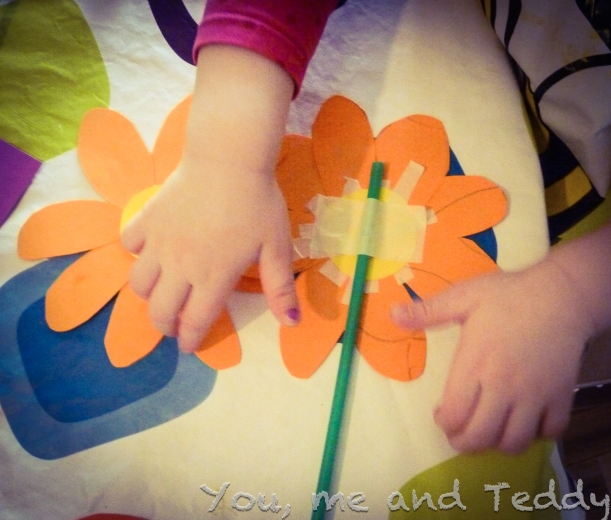
Then we stuck another circle of yellow on the back to make the flower more solid. The completed flower was then stuck to the straw. When it came to the leaves I drew a leaf design on them and then E taped them to the straw.

flower straws

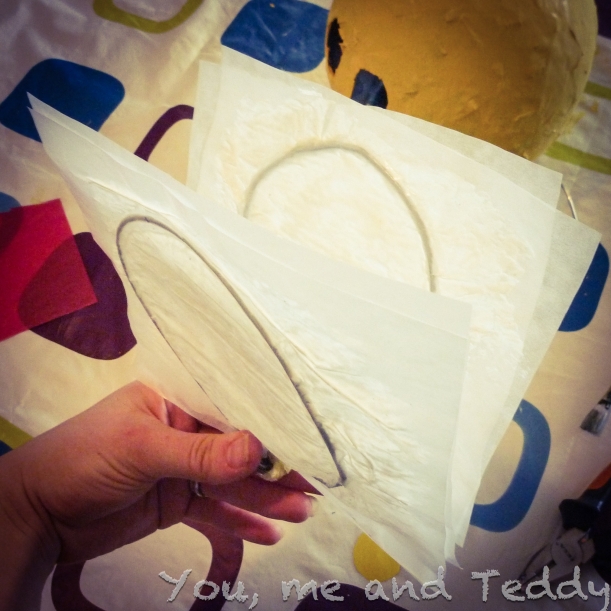
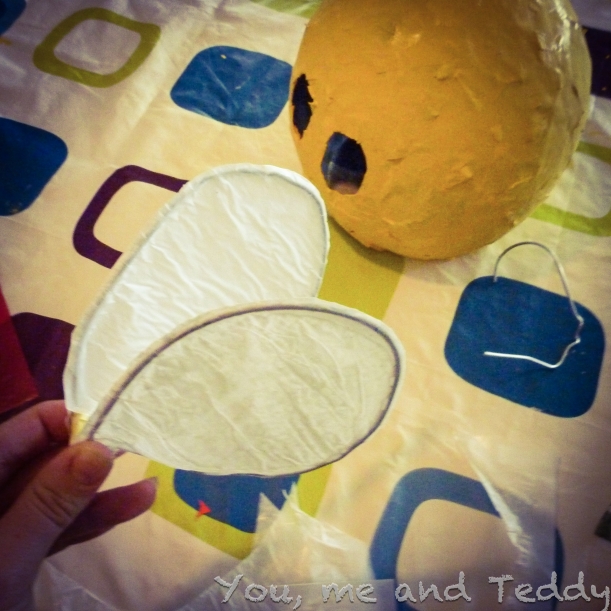
In between doing flowers we added coats of paint to the bee mask. While E was making flowers I found an old wire clothes hanger and shaped it into a pair of wings with pliers. I cut off the excess wire and taped up the sharp ends with masking tape. Then we cut a couple of sheets of tissue paper in half and covered 2 in glue. I then sandwiched tissue paper over the wire wings and cut round the outline to give a neat finish.

wings

wings cut out

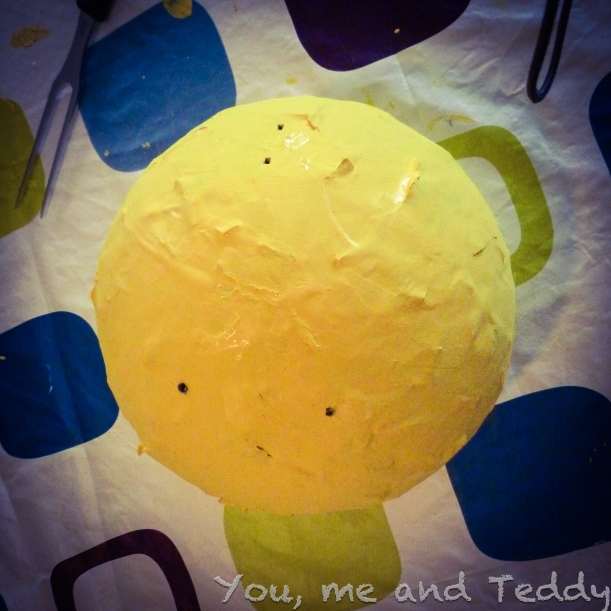
Once the yellow paint was dry on the bee mask I made some holes for antenna, attaching the wings and a stinger. Then while E had a snack of honey sandwiches I painted the black lines onto the bee mask. Now we just had to wait for it to dry to pop the pipe cleaners in!

holes for wings and antenna

We watched some bee cartoons and youtube videos which showed more visually than I could explain what bees do and then we had a play ourselves with the bee mask and the flowers.

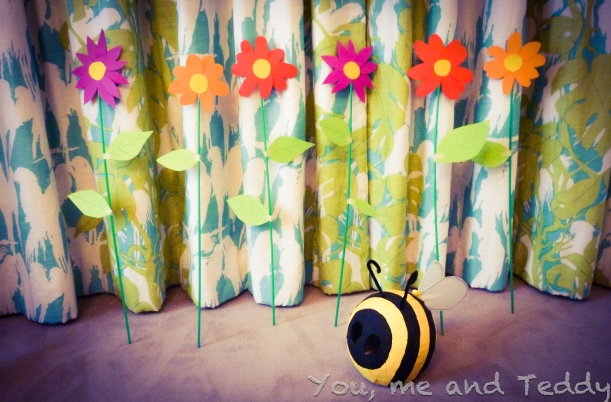
E is so happy with her mask and flowers and has decided they now live in her bedroom. I wonder how long it will take before they are completely destroyed! Unfortunately she refused to be photographed so this will have to do.

bee and flowers 2

Hope you found a way to brighten your days too today. 🙂

Buzzzzzzzzzzzzzzzzzzzzzzzzzzzzzzzzzzzing out.


Leave a comment

Paint by breakfast

Among other things it’s our 10 year anniversary today. Seems crazy that we have actually been together that long. We are celebrating tonight so I decided to make it special for the kids too.

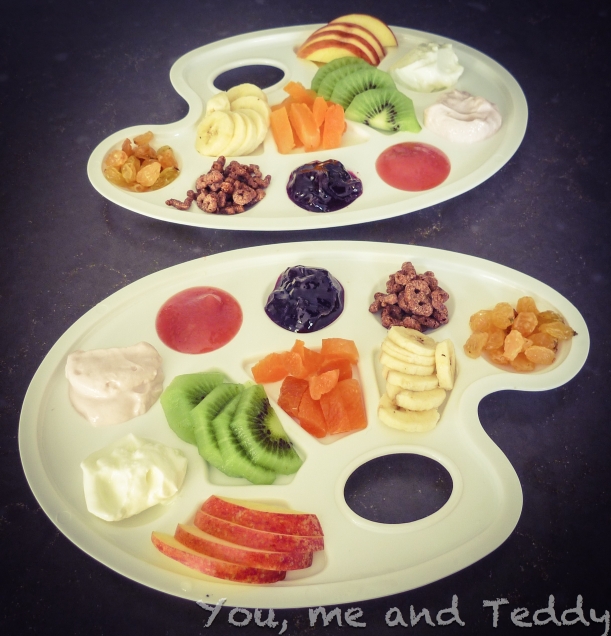
When E and I went to the stationary shop to buy our craft supplies the other day we had a total explore. It always works out more expensive than planned but I love going in there as it is such a source for inspiration. This trip I found these paint palates for 2 Swiss Francs a piece so I reckoned absolute bargain!

They make great pick and mix style plates and it is fab to really be able to contrast so many different colours on one plate. We have yoghurts, fresh fruit, compote, dried fruit and cereal. I tend to buy fairly seasonally or local produce (bananas being the exception) so I can’t wait to do this again this summer with all the berries!

Breakfast Painting

What’s more it has been proven that kids prefer children are tempted by plates with more elements and colours thus encouraging them to eat more nutritionally diverse diets (Cornell, 2012) How fab is that?

I am going to be having more fun with meal times over the next few months so stay posted.

Have a lovely day.


Leave a comment

Hey Presto: what a disaster!

Today I made a special effort to create an activity especially for my 10 month old. I was super excited as I had seen this idea on a Facebook blog I follow called Family Days. Tried and Tested. It looked fun, easy and most attractively (for me) MESS FREE! What could go wrong?

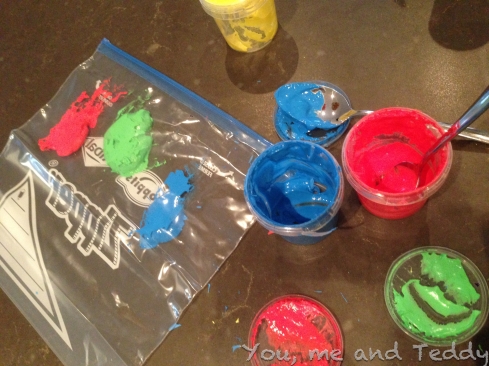
The mum that writes Family Days. Tried and Tested. is a genius and inspired me to make more of an effort with my kids. That blog is one of the reasons I started mine. Usually I do not just take ideas with out adapting them to my little terrors first, but it seemed to good to resist. So I got out the paint and spooned a few dollops of paint into a ziplock bag. Hey presto: fabulous activity prepared in under 5 minutes!

paint prep

Big grin on my face I took the bag over to M and said,

“Wow, look what I have here!”

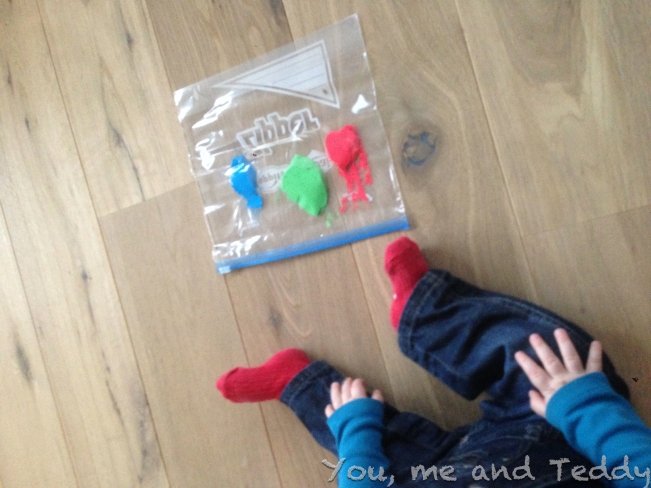
M comes crawling over excited and grabs the bag. First he shoves it in his mouth so I pop the bag down on floor and squish the paint a bit. Then I show M how to do so. M’s mind ticks over a sec and you see the realisation dawn that it is not something fun to eat or chew. M turns around and goes to find a new toy. FAIL.

M and paint

Oh well I thought I’ll keep it for E. She’ll like to play with it later…

Later on:

“Darling?”

“Yes Mummy?”

“I’ve got a special toy for you to play with.”

“OOOOOOOH! Yaaaay! Can I have it now?”

“Yes Darling. Come here.”

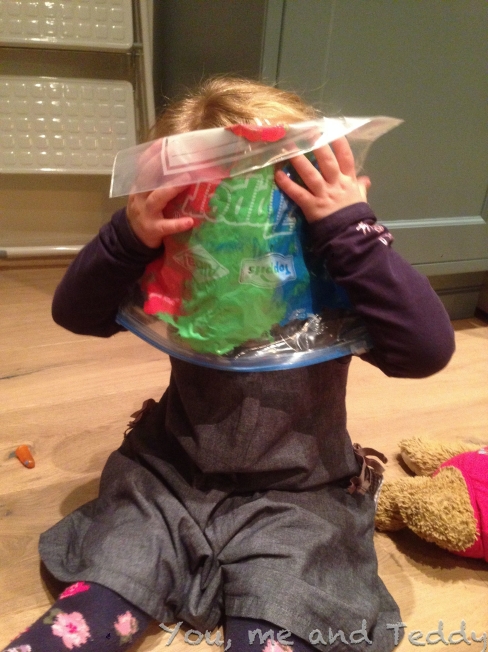
E and I sit down and grab a wooden spoon as an instrument for playing with the paint bag. I show E what to do and she plays for about one minute before she goes,

“Can I play with something else now Mummy?”

“Oh ok. You sure you don’t want to play with this a bit more?”

“No, Mummy. Its not working.”

E and paint4

Off she runs. EPIC FAIL.

Now, I have figured out why the paint bag was a fail: M wants anything that goes in his mouth or he can insert in a container, as this is how he currently discovers the world, and E likes activities that leave her a bit more freedom to experiment rather than being so contained (and mess free). I knew as an activity it seem too good to be true. I guess like with anything the more effort you put in the more you get out.

Oh well, guess what I have planned for tomorrow?